
I've been spending a lot of time working on the skill builder sampler quilt. I got the top finished sometime last month and started basting. I've known for a while that I wanted to try thread basting. Spray basting is right out — I have asthma, and pretty much anything in a spray can makes me wheeze. (Even doing it outside wouldn't be workable. I'm a delicate flower that way.) Pin basting also sounded about ten different kinds of problematic, the biggest issue being that I have some stuff going on with my neck and upper back, and hunching over the quilt with pins would most likely ruin me for days. (And this is supposed to be fun, right?) Not to mention the difficulty in finding enough clear floor space — problematic because this isn't a huge apartment, and it has, you know, furniture all over the place.
So instead, I wanted to try out Sharon Schamber's thread basting method. There are a couple of videos where she shows the process — first I saw the older one (in two parts: part 1, part 2). Then recently I found a newer HD version linked from a post about thread basting at Nonnie's Quilting Dreams. I watched both a few times before I started so I wouldn't get all baffled in the middle of setting it up. It solves a bunch of the problems I was anticipating with basting. It doesn't take anywhere near as much space, I'm not working on the floor and angering my neck in the process, and because it's not spread out all over the floor and taking up a ton of space, I was able to work on it over several days, which kept my neck from seizing up on me. (I probably could have also pin-basted using the same setup, but I wanted to to try it with thread.)
I had a helper, naturally.
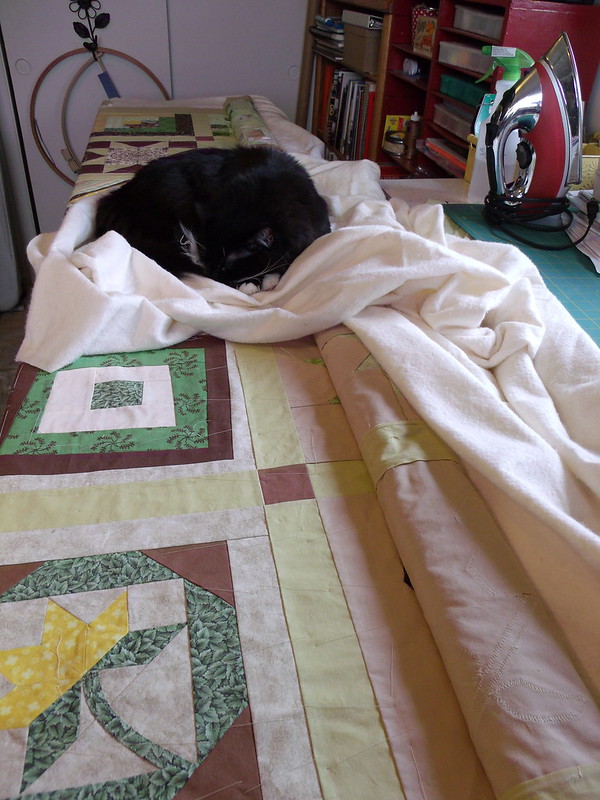
I enjoyed the process of basting for the most part. I thought it would be tedious, but I found it soothing and meditative. The long table in the photo is something my husband set up for me. It's actually two 2-foot by 4-foot pieces of melamine shelving on sawhorses. There are strips of lumber attached to the back to hold the two pieces of shelving together and make them sit nicely between the thingamawhatsits on either side of the sawhorses, which keeps it from shifting. The whole thing will come apart when I'm done, so it can be stored pretty easily.
After I finished basting, I started out by stitching in the ditch along lengthwise down either side of all the columns of blocks and around the borders with invisible thread. I intended to do across the rows of blocks, too, figuring I could use all the help I could get stabilizing things before I launched into free motion quilting. But I was too impatient to wait any longer for the fun part, and so far the quilt doesn't seem to be suffering any from it.
I'm still inexperienced at free motion quilting, and it does show. I'm not stressing out about it. My goal here is to get comfortable with the process. At the end, I'll look back and see if there are any seriously problematic sections that need to be ripped and re-done. Lengths of bobbin thread sitting against the back with big loops of needle thread flapping in the breeze, that sort of thing. But I'm waiting until the end to do that. I figure I'm better off fixing any problems serious enough to need to rip after I've had a little more practice.
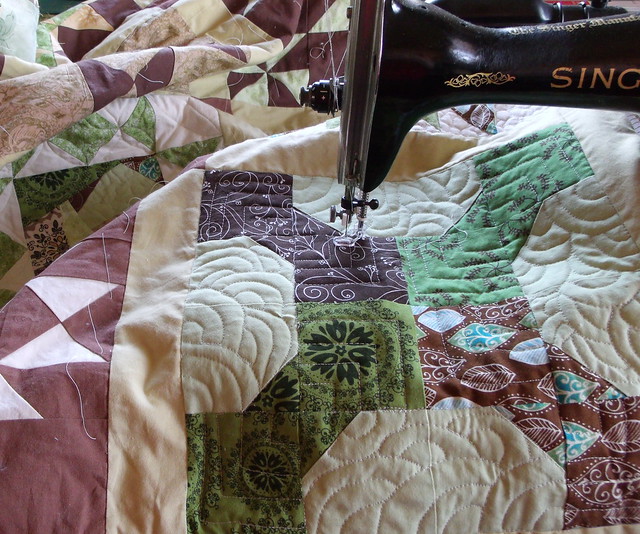
I'm also not marking any lines to follow. I considered it, but I decided it would encourage me to obsess over the inevitable flaws.
Away from the machine, I've been working on the unblackwork project again. I ran into a bit of a problem after I finished the first section and started looking at where to place the second one. Originally, I planned to do five sections, like so:
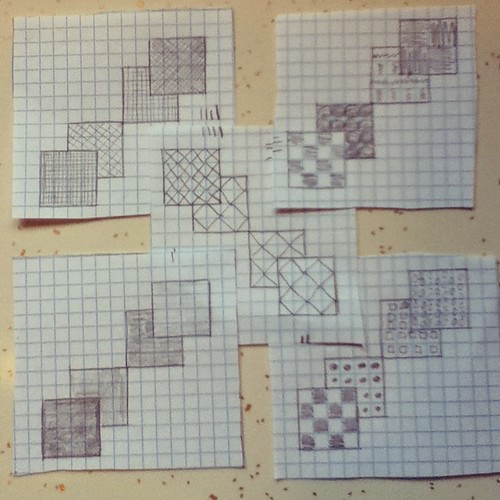
I'd measured the piece of fabric and thought I had plenty of room, but it's cut somewhat off-grain, and it's just enough off that the upper section wouldn’t have enough room left at the edge. I set it aside for a while, then regrouped and came up with a new plan. Here's what I've got so far:
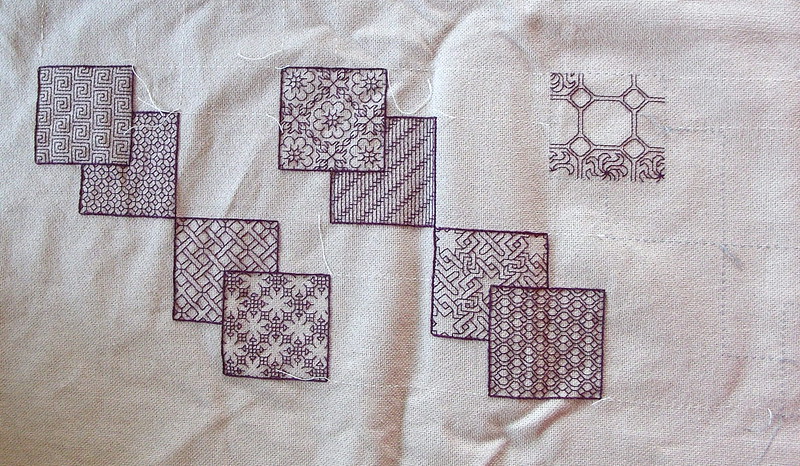
The new plan involves three sections in a row on the bottom, then two more angled in the opposite direction above. I'm considering calling it done after the three, though. I think it might look better that way.
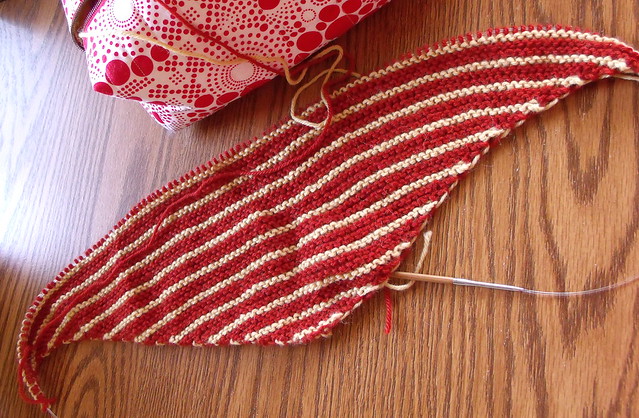
Oh, and before I wander off to eat dinner, I have a tiny bit of happy news. I can knit again — yay! It took forever before my wrist healed enough that I could knit comfortably for more than a few minutes. I could do push-ups before I could knit, even. It was the strangest thing. I worked on this for about two hours straight at my knitting group on Sunday, and my wrist was a tiny bit tired afterward, meaning I should probably not do any marathon knitting sessions anytime soon, but I'm so happy that I can knit again.
May 19, 2014
I love your blackwork project–so pretty. I should probably contact you off blog for this, but might you be interested in fabric scraps? I am cleaning my sewing room and have a small metric ton of fabric I’ll never use. Much of it in small (but useable) pieces.