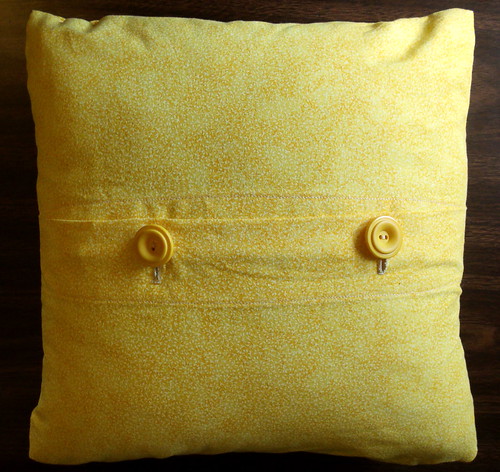
It seems like I spent about six weeks working on all these different projects without finishing anything, and now they’re getting finished all at once. I stitched most of the marigolds on the calavera project while I was at the music festival, then got the few petals done a few days ago. And today at lunchtime I made the pillow cover:
The embroidery pattern is Calavera by Carina Envoldsen-Harris of Polka & Bloom. For the cover, I read the instructions in my copy of the Reader’s Digest Guide to Sewing before I started drawing up my schematic just to make sure I knew what I was doing. I used the angled corners from Green Bee’s MicroMod patchwork pillow tutorial, and St. Martha kindly helped me figure out how much overlap I wanted for the buttoned back.
These are my first buttonholes ever. I think they maybe look a little dodgy, but maybe that’s just because the bulk of the pillow is sliding the buttons to one end of the buttonholes.
I’m really happy with how this came out! The only thing I might change is to stuff a little extra polyfill in the corners. Even with the angled corners, they’re still a bit floppy — the pillow form is really nice and cushy but its corners are a little wimpy, and a few bits of extra stuffing would probably fix that right up.
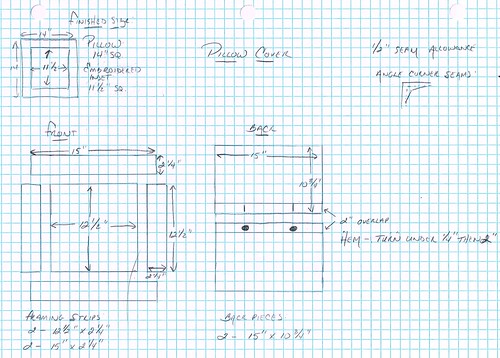
Oh, and my sort of iffy-looking schematic, which is probably of no interest to anyone but me, but it’ll be handy to have it here if I ever need it again since I’ve probably already lost the piece of paper:
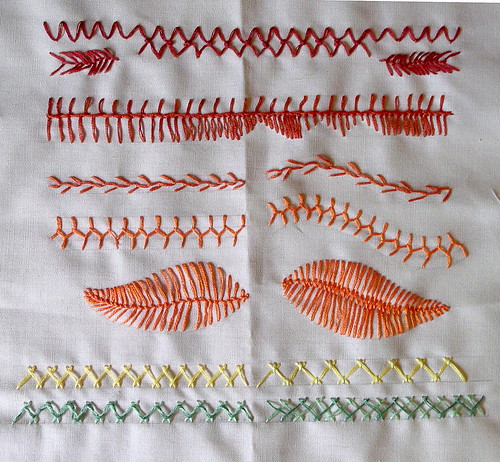
And I’ve been working on my TAST sampler again! I don’t think I ever posted week 4 when I did it a few weeks ago, so here goes:
Row 4: Open cretan stitch
Row 5: Closed cretan stitch. (Maybe. I think I might’ve been doing it wrong — I couldn’t see how it was different from open cretan stitch apart from spacing.)
Row 6: Herringbone stitch and tacked herringbone stitch.
Row 7: Laced herringbone stitch and double herringbone stitch.
I broke out my Reader’s Digest guide to needlework last night and had fun trying all the different varieties of herringbone stitch it showed. I had some trouble keeping the width even, a little less so on the bottom row where I put some tick marks to try to even things out a little.


June 12, 2013
Oh my god, that pillow is absolutely gorgeous! You make my pattern look really really good! Thank you. :-)
June 12, 2013
With all the stitches you are learning, you can soon make another fantastic pillow! You have a great sense for colour.